Recently, I started a new 3D character art class - nicknamed STYL, at the Russian-speaking XYZ school.
It’s a 6-month long program, where I will learn how to create a game-ready stylized character, taking it through the entire 3D pipeline - all the way from a ZBrush block-out to the in-game low-poly model (even with some animation to top it off!).
I’ve always wanted to learn how to create 3D characters for videogames. I have some experience with ZBrush, Maya, and the like; but never to this extent - so I thought it would be a good place to advance my skills further.
I wanted to use this blog as a place to document my progress, to see how far I can advance during the next 6 months!
Choosing a concept
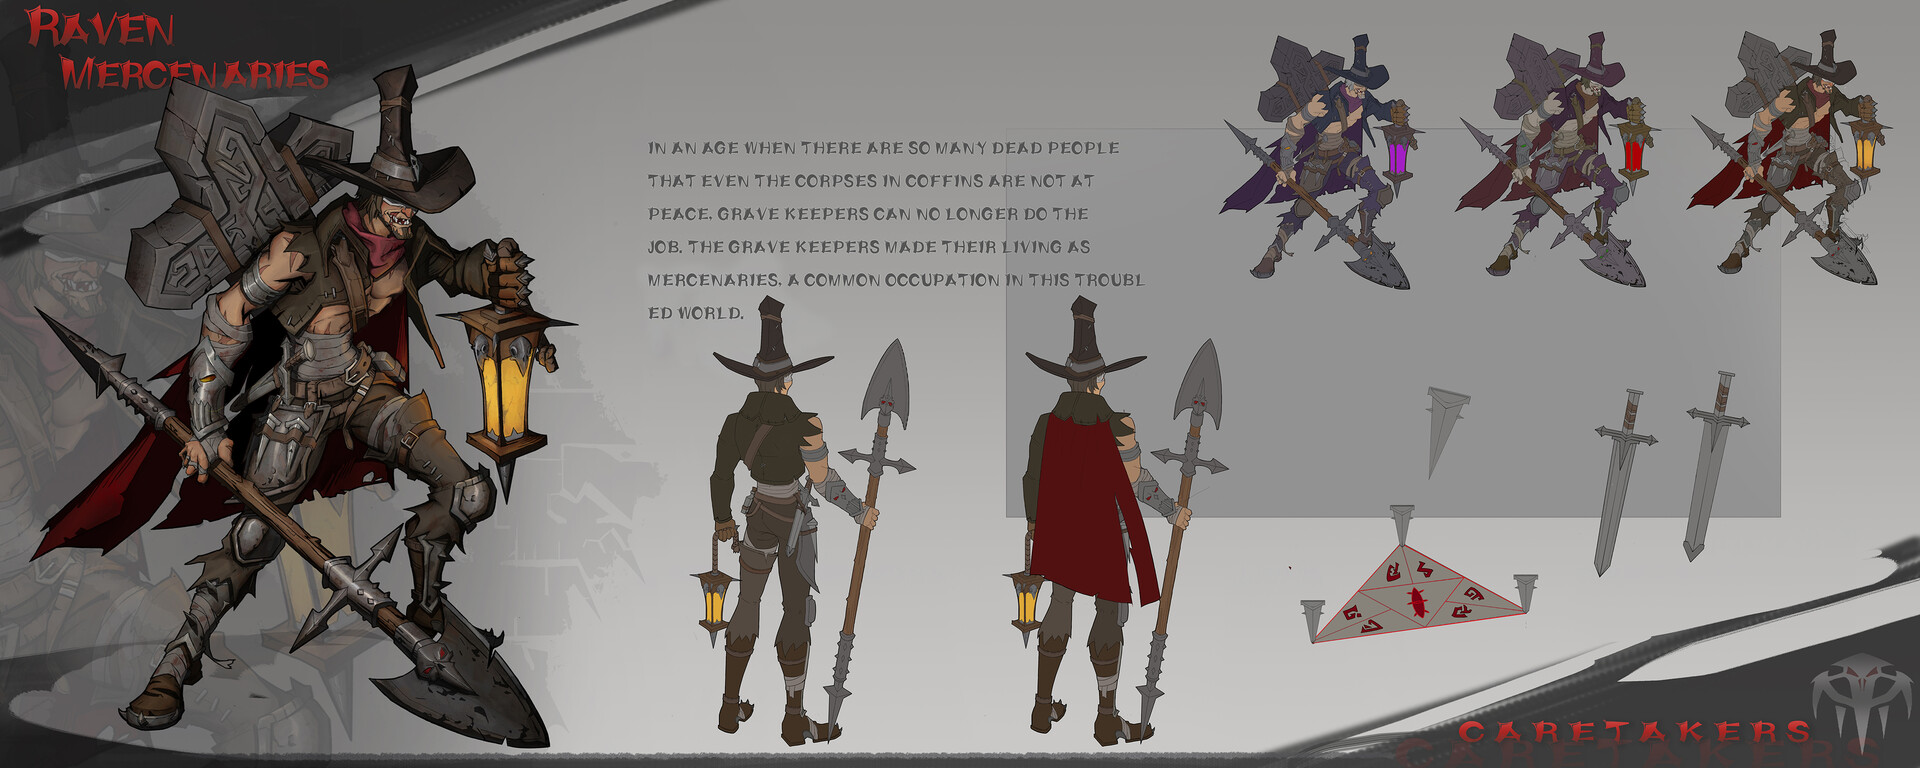
The first stage in this process was to pick a character concept to work from. While I had the option to create my own design, I think this would be a time-consuming undertaking in itself if I wanted it to be done well. Since my time in class is limited, I opted to work from another artists’ concept instead.
The main thing that went into my consideration was complexity (I wanted to keep it relatively simple for my first character) and compatibility with the course - so I made sure that all of the elements of the character outfit were in some way covered by the course material, at least at a basic level.
As such, I took a browse through Artstation, and found this awesome concept from one of the students at W–ART:
Getting references
Any artist knows, one of the most important stages to the success of your project is gathering some references before you dive in!
It takes time to find the right examples, but this time will prove to be well-spent when I’m working out how to go about making certain outfit details, and how to stylize the various elements of this chararcter.
I made my ref board using PureRef, and I will likely keep updating it as I keep working on the model. A lot of my references came from Overwatch character models - which is the level of stylization I’m aiming for.
For your interest, I uploaded the entire ref board as an image here - but beware, the image size is around ~30 MB!
First coursework assignment
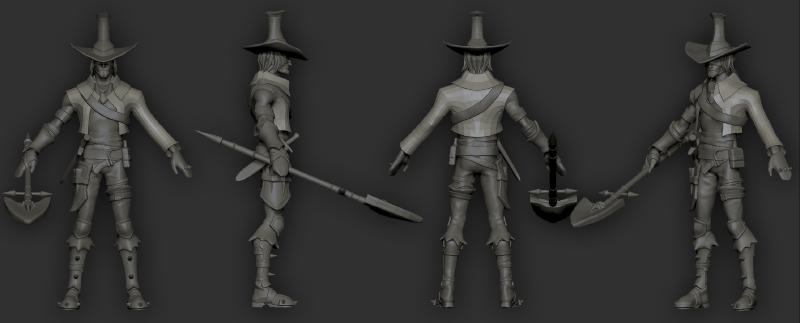
It’s time for my first assignment - making a basic blockout of the character and most of the outfit elements.
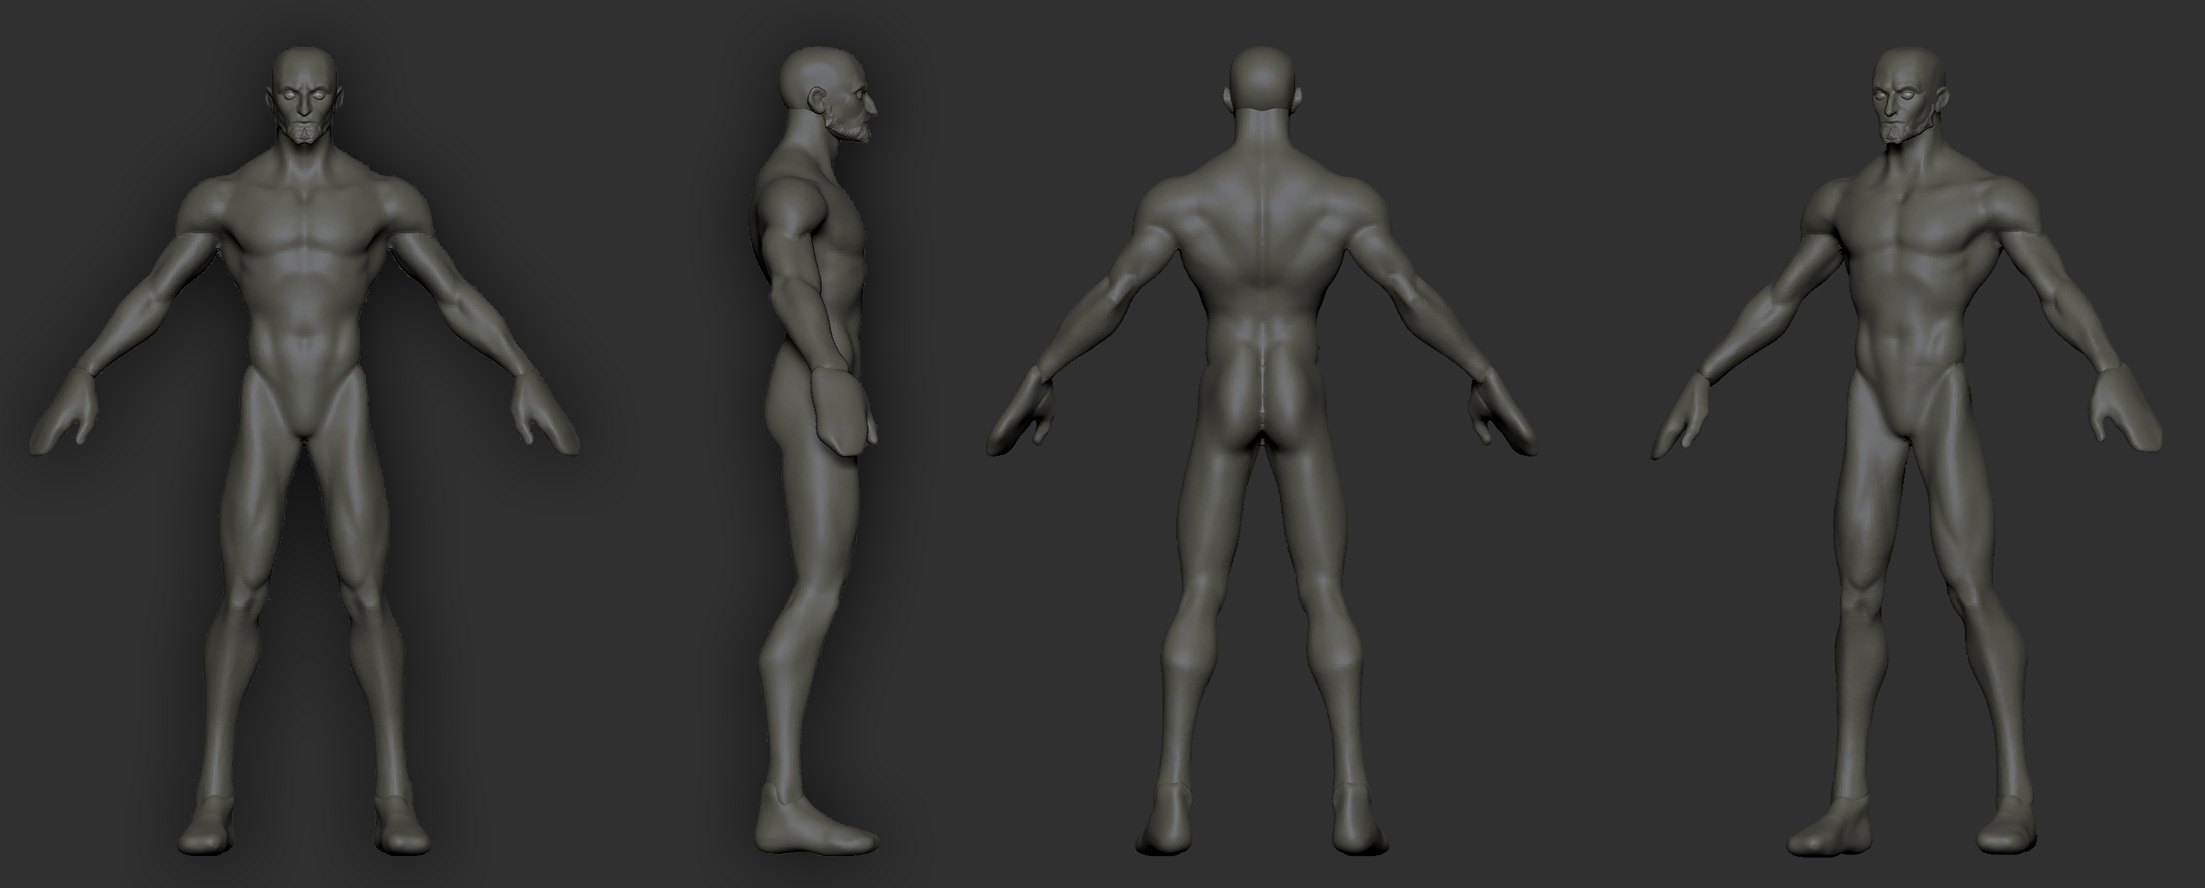
This is the part I’m most experienced with - so it didn’t take too long to do. I started by blocking out the anatomy and basic proportions with DynaMesh, primarily using brushes like Move (for big form changes), ClayBuildup to add mass, and some DamStandard to separate the muscles.
At this stage, I’m not worried about topology or detail - I’m just blocking out the main forms, and making sure I have a good silhouette.
I had to look at a lot of reference to make sure my anatomy was mostly accurate. The tough part was applying stylization to the forms at the same time - omitting detail where appropriate and slightly pushing proportions in other places. I’d say the result turned out reasonably well!
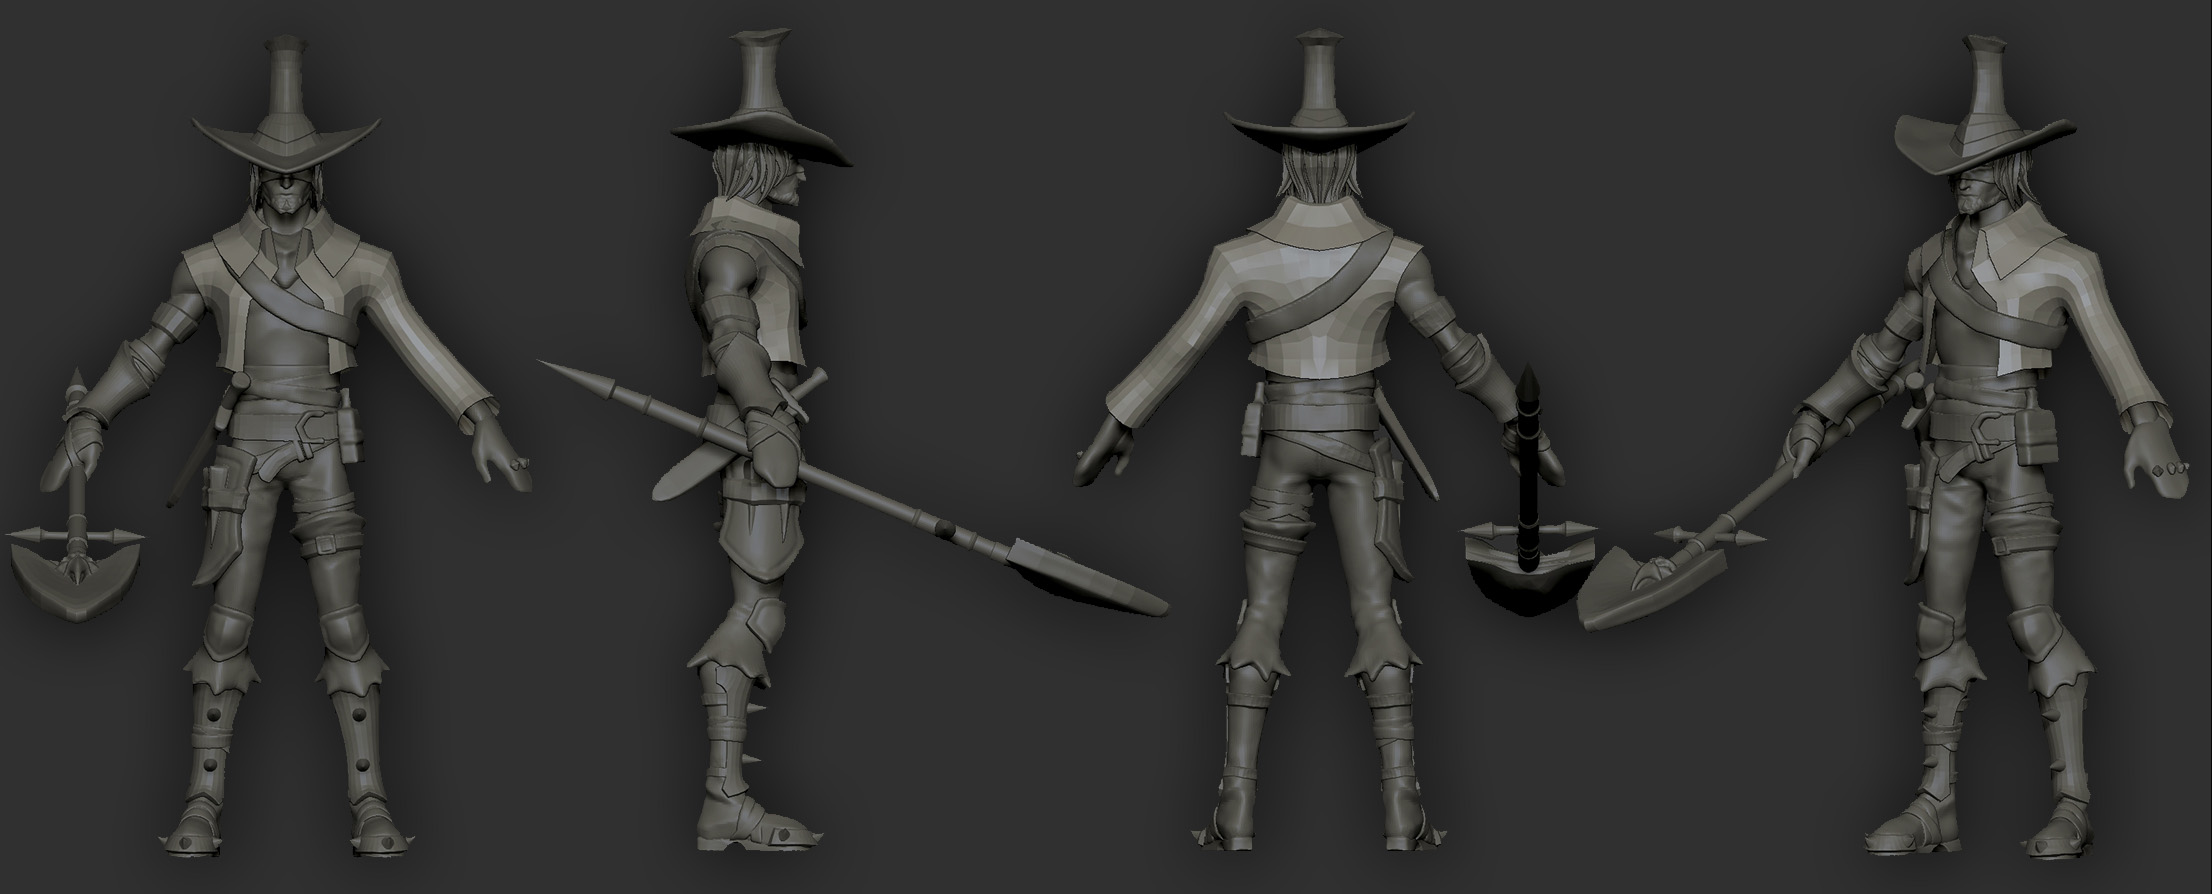
After the major anatomy shapes of the character were done, I moved onto blocking out the outfit.
The tools here were mostly the same as before - but I also used ZRemesher and Zmodeller to give me more clean shapes on things like the jacket, bracer, and belts.
Assignment feedback
I received mostly positive feedback from my tutor, Nikolay Tsys - the main correction he pointed out was the shape of the glute muscles on my anatomy blockout, which I will fix for my next assignment!
What’s next?
In the next part of the course, I’ll be diving deeper into sculpting out all of the forms in detail, starting with the anatomy and continuing with the different parts of the outfit. I will likely cover each part in more detail than the generic info in this post, so I can have a good recollection of the techniques I ended up using. Maybe it’ll help someone else, too.